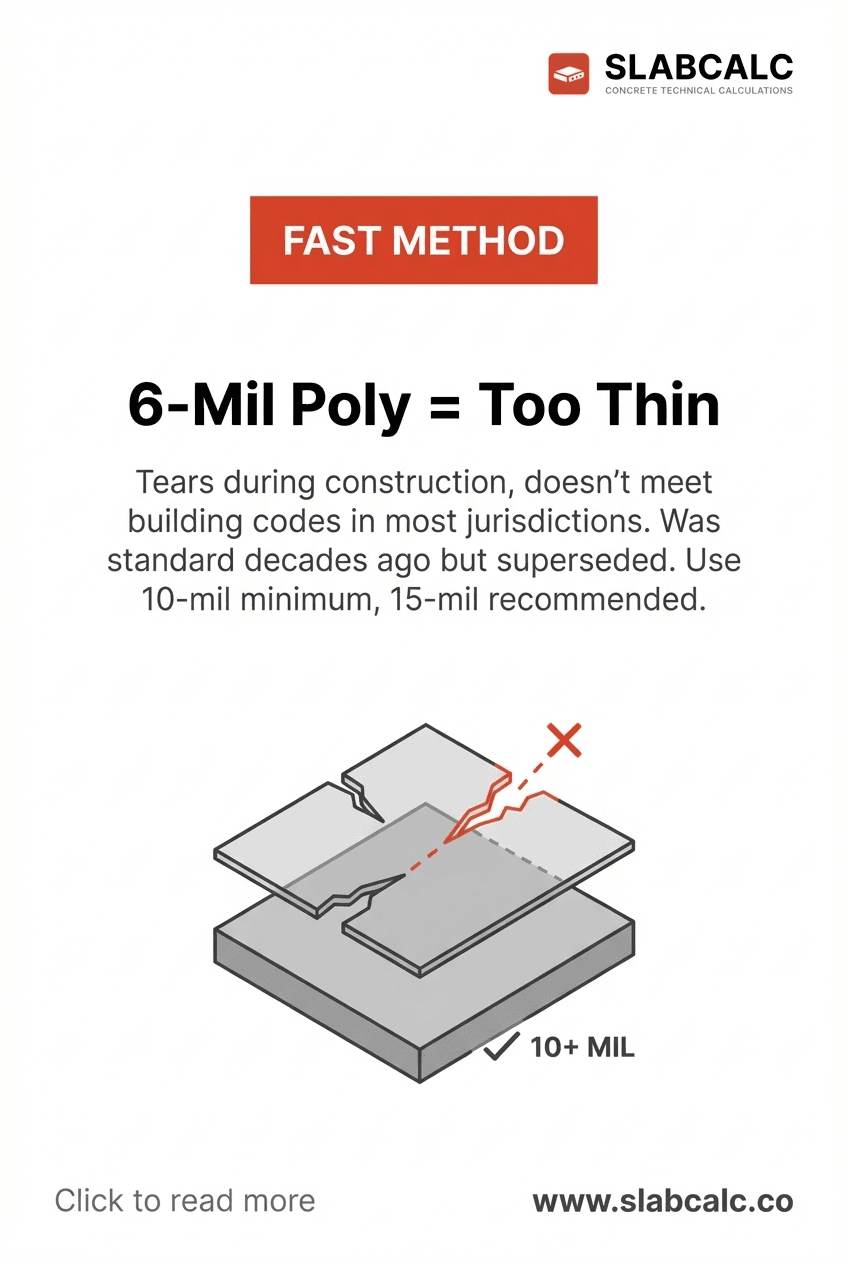
6-Mil Poly = Too Thin
The Slow (and Costly) Way
Many DIYers and even some contractors still use 6-mil polyethylene because it's cheap—about $0.10 per square foot versus $0.18 for 10-mil. Install it, pour concrete the next day, and hope nothing goes wrong. But here's what actually happens: during concrete delivery and finishing work, foot traffic and wheelbarrow wheels tear 6-mil plastic constantly. Small punctures accumulate. Within weeks of occupancy, moisture vapor migrates through those tears and under the concrete. Flooring fails. Mold appears. The repair bill exceeds the initial savings by a factor of 10.
Worse, 6-mil poly doesn't meet current building codes in most jurisdictions. The International Building Code and model codes now specify 10-mil minimum, with 15-mil recommended for residential and commercial slabs. Inspectors will flag it. You'll tear it out and reinstall. That rework adds 4–6 hours of labor per 1,000 square feet.
The Fast Way: Buy Better Material Now
Time investment: 2–3 hours for a typical 1,500 sq ft basement slab (versus 1 hour with 6-mil, but you avoid 8+ hours of rework later).
Purchase 15-mil polyethylene. It costs roughly $270 more for a 1,500 sq ft slab than 6-mil, but it's non-negotiable for code compliance and durability. Roll it out over the prepared subgrade—compacted soil, gravel base, or sand layer.
Key steps for speed:
-
Unroll in the direction of traffic. Lay poly running the longest dimension of the space so workers cross overlaps perpendicularly, not along them.
-
Overlap seams by 24 inches minimum. This is where most failures happen. Tape overlaps with heavy-duty polyethylene tape (Gorilla tape or equivalent) on both sides—takes 15 minutes extra but prevents separation during concrete pour.
-
Seal penetrations. Any pipes, conduits, or posts pierce the barrier. Cut an X around each, wrap poly up the object 6 inches, and tape. Use caulk-backed tape, not duct tape (degrades).
-
Extend to the perimeter. Run poly 6 inches up the stem wall or foundation edge. Secure with a few fasteners or weight it down with sand—just enough to hold position during concrete placement.
Tools needed: Utility knife, heavy-duty polyethylene tape, measuring tape, caulk gun (if sealing with polyurethane). Budget 20 minutes per 500 square feet for this stage.
Timing Benchmark
- 6-mil installation + rework when torn: 1 hour + 6 hours rework = 7 total hours
- 15-mil installation (correct first time): 3 hours, zero rework
That 4-hour difference disappears the moment the concrete truck arrives and workers step on the material. Protect your investment. Use 15-mil minimum. Your inspector will pass it. Your floor won't fail.