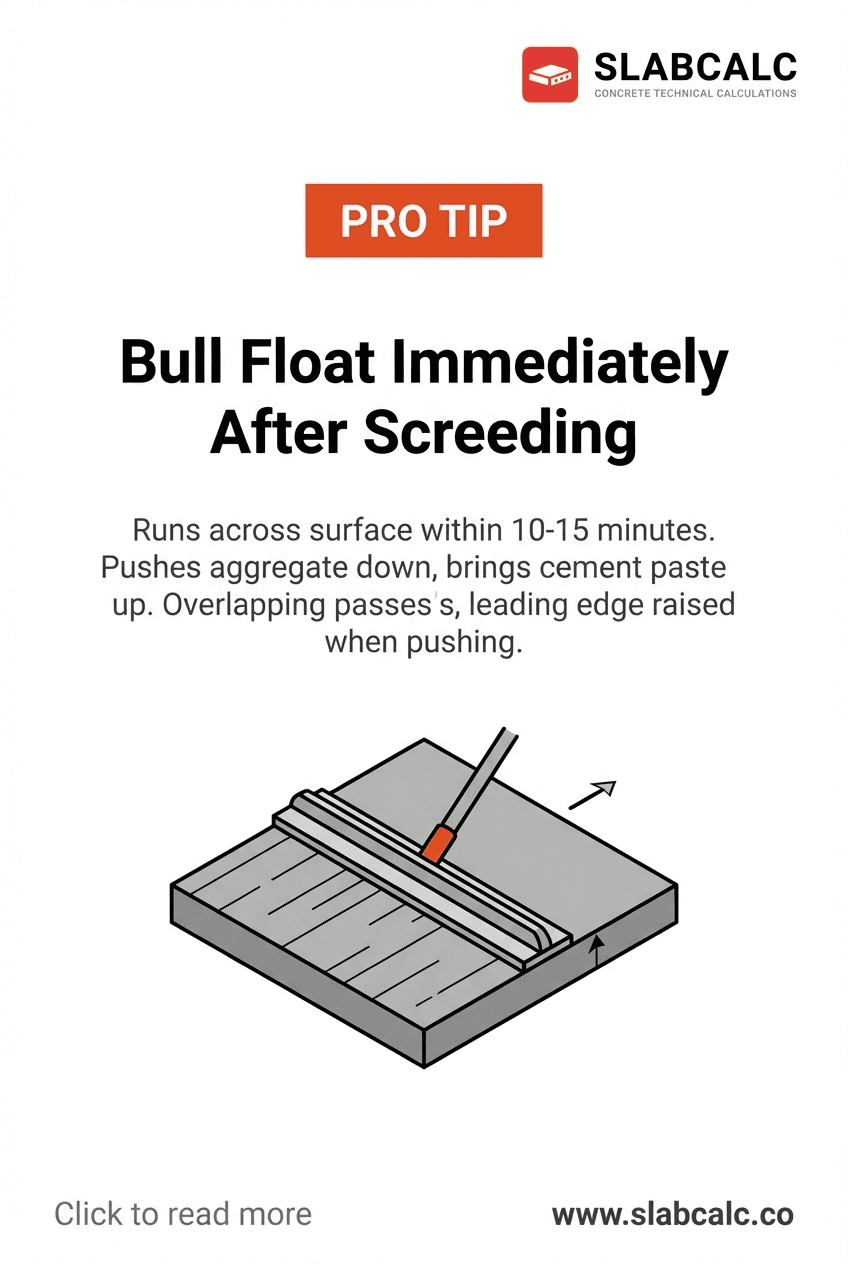
Bull Float Immediately After Screeding
The Biggest Mistake DIYers Make
Most homeowners wait too long after screeding to start bull floating. They think the concrete needs time to set, or they're moving too slowly with other tasks. By the time they grab the bull float, the surface has begun to firm up unevenly—some spots are tacky, others are still soft. The result? A wavy, uneven finish that's extremely difficult to fix without starting over.
The professional secret is simple: start bull floating within 10–15 minutes of finishing your screed. This tight timing window is non-negotiable if you want a smooth, consistent surface.
Why This Timing Works
Bull floating accomplishes two critical jobs simultaneously. First, it pushes the coarse aggregate (gravel and stones) down into the concrete, away from the surface. Second, it brings the cement paste—the smooth, liquid part—up to the top layer. This "cream" is what gives concrete its polished appearance.
The concrete is only in the ideal state for 10–15 minutes. If you float too early, the paste hasn't settled enough to bring up uniformly. If you wait too long, the surface begins to stiffen and your float will drag, creating marks and gouges instead of a smooth finish.
Temperature matters here. On hot, dry, or windy days, your window shrinks to 8–10 minutes. On cool, humid days, you might have 15–20 minutes. The concrete itself signals when it's ready: the surface should still feel slightly wet and offer light resistance to your hand, but not stick to your glove.
The Professional Technique
Step 1: Prepare Your Float Use a 36-inch to 48-inch bull float with a handle extension. A 36-inch float is easier to control for beginners; professionals often use 48-inch for larger slabs. Wet the float face before starting—this prevents suction and dragging.
Step 2: Make Your First Pass Push the float away from you with the leading edge raised 15 degrees. This angle is critical: it prevents the float from digging in and causing marks. Apply moderate downward pressure—you're smoothing, not grinding.
Step 3: Overlap Your Passes Bring the float back toward you with the leading edge still raised. Overlap each pass by 6 inches. This ensures consistent coverage and eliminates ridges.
Step 4: Watch for Bleed Water Stop floating once you see a thin layer of water rising to the surface. This is bleed water, and it signals that bull floating is complete. Continuing past this point will ruin your finish.
The One Tool You Need
A quality aluminum or magnesium bull float costs $80–$200 and will last years. Cheap fiberglass floats flex unpredictably and create uneven results. The handle extension should be adjustable so you can control the float angle precisely.
Bull floating is the difference between a DIY slab that looks amateurish and one that rivals professional work. Master the timing, nail the angle, and you'll transform your concrete finish completely.