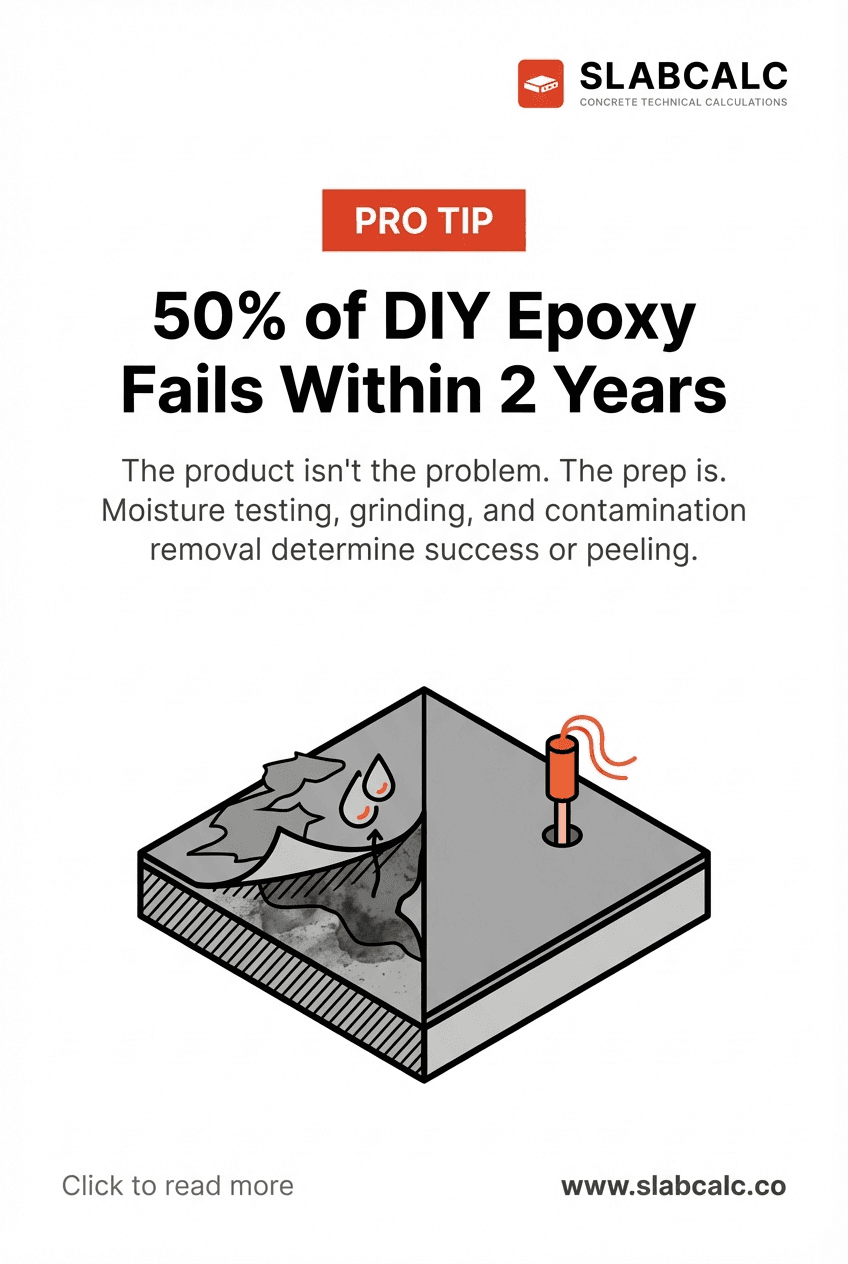
50% of DIY Epoxy Fails Within 2 Years
The Common Mistake: Rushing the Prep
Most DIYers spend $200–400 on quality epoxy, invest a weekend of labor, and watch it peel within 18 months. The product isn't defective. The concrete wasn't ready. Homeowners skip or shortcut surface preparation because it's invisible work—no visual payoff until the coating fails. Professionals know that prep determines everything.
Why Surface Condition Is Everything
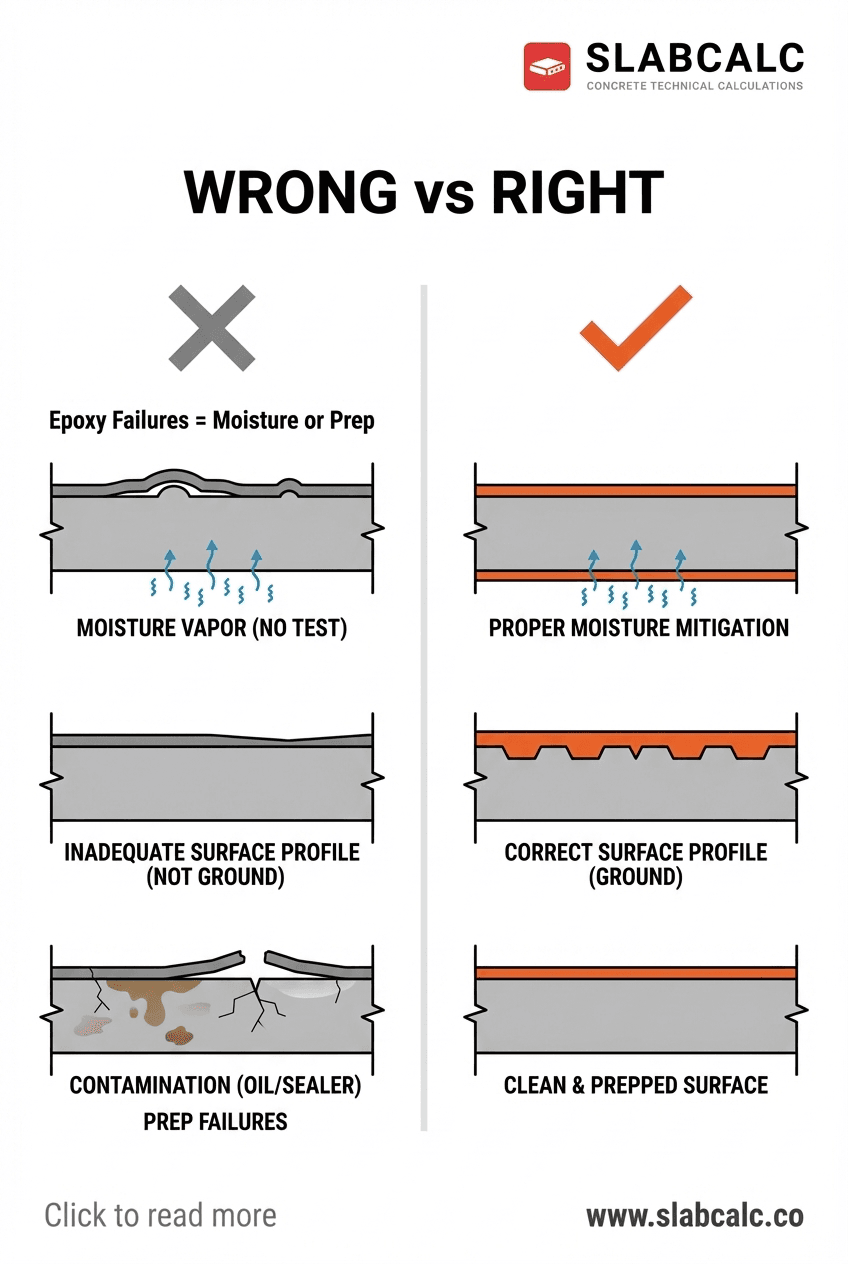
Epoxy bonds mechanically to concrete, not chemically. It needs a textured, clean, dry surface to grip. Smooth, contaminated, or moisture-laden concrete rejects the coating entirely. The epoxy may appear to adhere for months, but vapor pressure and thermal cycling eventually push it off in sheets. By then, you've lost your investment and your time.
Step 1: Test for Moisture (24–48 Hours)
Before touching sandpaper or cleaner, run a moisture test. Tape a 2×2 foot piece of clear plastic sheeting flat to your garage floor in at least three locations—high spot, low spot, and center. Weight down all edges with bricks or tape. Wait 24–48 hours without disturbing it.
What you're looking for: Condensation under the plastic means moisture is wicking up from the slab. If you see any beading, you have a problem. Epoxy over a damp slab will fail—guaranteed. You'll need to either install a moisture barrier (adds $0.50–1.00 per sq ft) or address the underlying drainage issue before proceeding.
Step 2: Grind the Surface (Critical)
Once moisture is confirmed dry, grind the entire floor with a 150–220 grit concrete grinder. This removes the top 1/16 inch of weak concrete, exposing fresh material beneath. Rent a walk-behind grinder ($40–60 per day) rather than trying a handheld—you'll get even texture and won't miss spots.
Grinding also removes:
- Curing compounds (invisible but epoxy-repellent)
- Dirt and oxidation
- Tire marks and minor stains
- Laitance (weak concrete dust)
Skip this step, and your epoxy adhesion drops by 50–70%. Budget 6–8 hours for a two-car garage floor (400–500 sq ft).
Step 3: Clean and Degrease Thoroughly
After grinding, vacuum twice—once with a standard shop vac, once with a HEPA filter to catch fine dust. Any remaining powder will create a weak bond layer. Next, degrease the entire floor with a concrete cleaner or degreaser. Oil stains, tire residue, and fuel spills prevent epoxy from curing properly.
Mix the cleaner per instructions, scrub with a stiff brush, rinse completely with clean water, and let dry for 48 hours.
Why This Works
Contractors spend 60–70% of their time on prep because it's where the durability lives. A textured, clean, dry surface gives epoxy the mechanical grip it needs to resist traffic, heat, and moisture vapor for 10+ years instead of 2.
The good news: you already have access to the same products and techniques. Invest the extra 16–20 hours of prep work, and your DIY epoxy floor will outlast most professional-grade hardware store solutions.