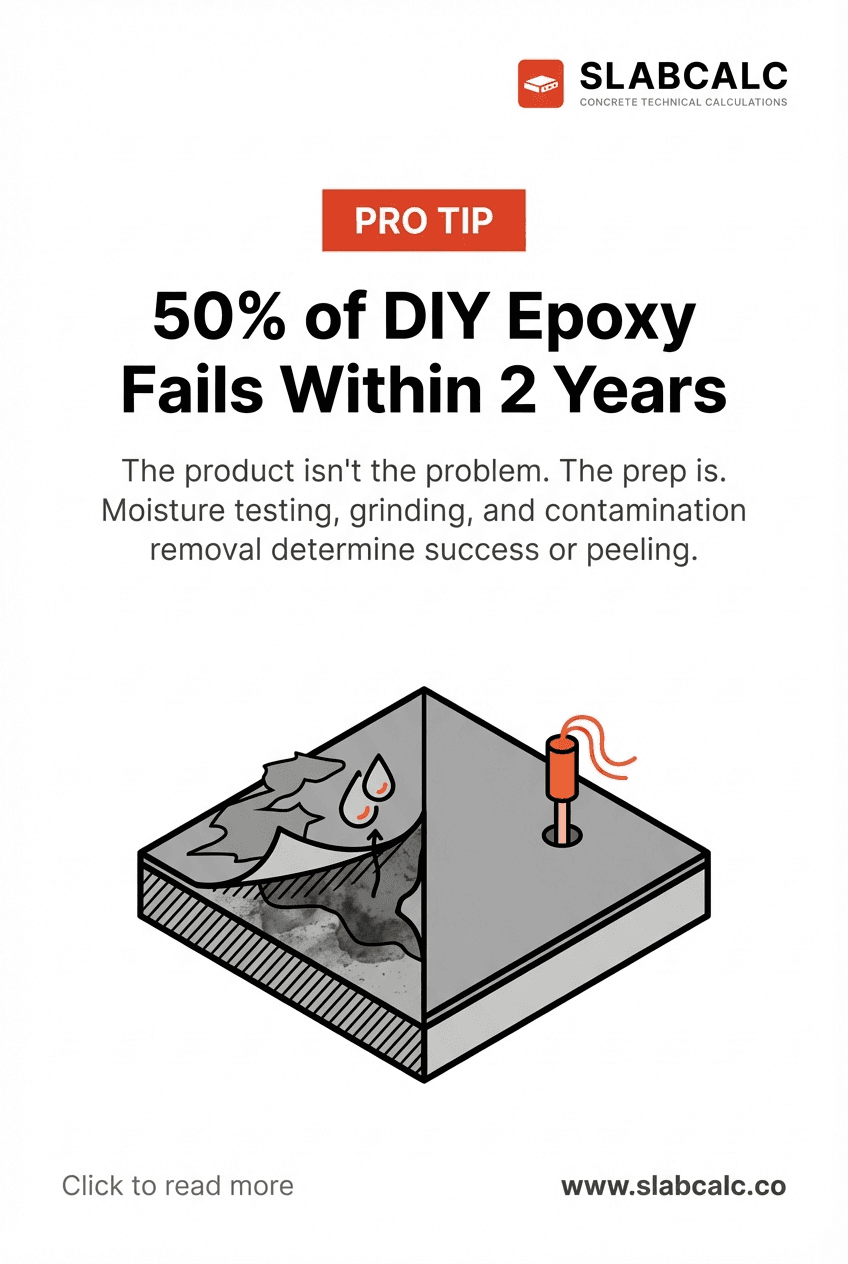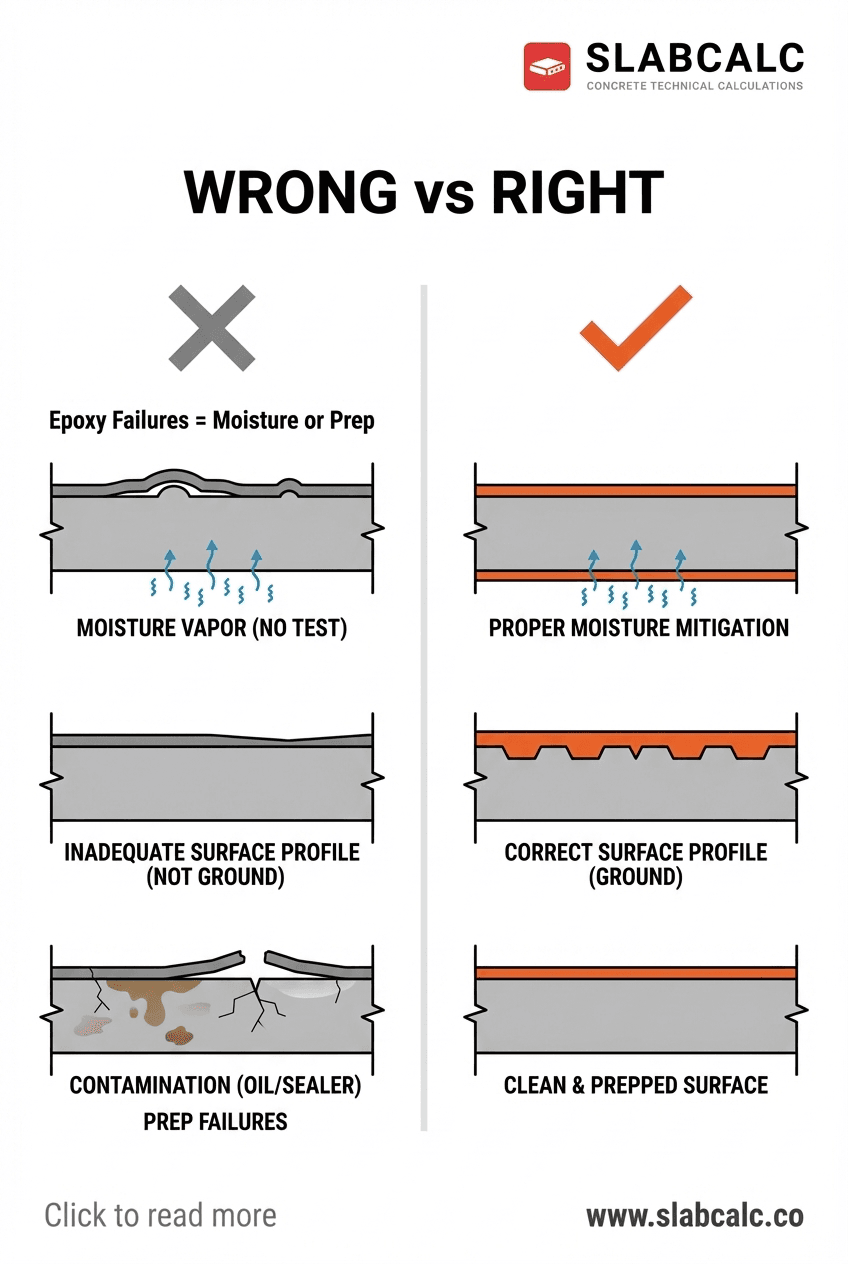
Epoxy Failures = Moisture or Prep
Epoxy peels, bubbles, or fails within months. The homeowner blames the product. The truth: 100% of epoxy failures are prep failures. Your coating is only as durable as the foundation it sits on. This decision tree will help you identify and prevent the three causes before they ruin your project.
The Three Failure Paths
Path 1: Moisture Vapor (No Test = Automatic Failure)
Concrete wicks water from soil or groundwater. Even "dry" slabs can have 5–8 lbs of water vapor per 1,000 sq ft per 24 hours rising through the slab. Epoxy seals the surface, trapping vapor underneath. Pressure builds. The coating blisters and peels from below.
Decision rule: Before mixing epoxy, perform a calcium chloride test. Tape a 2×2 foot piece of plastic sheeting flat to the floor in at least three locations. Wait 48 hours. If condensation forms under the plastic, your slab has active moisture. Do not apply epoxy. Instead, install a moisture barrier (dimple mat, epoxy moisture mitigation primer, or closed-cell spray foam) first. Cost: $0.50–$1.50/sq ft extra. Skip this, and your $300–$500 epoxy job fails within 12 months.
Path 2: Inadequate Surface Profile (Skipped Grinding)
Concrete is porous but often has a thin, dense skin. Paint, sealer, old coatings, or factory surface treatment create a barrier. Epoxy needs mechanical bite—a slightly rough texture at 60–90 microinches of profile.
Decision rule: If the floor is smooth, sealed, or has any existing coating, grind it. Use a concrete grinder with 120–150 grit abrasive, working in overlapping passes. The surface should feel like fine sandpaper, not glass. If you can't feel texture, grind longer. A rented floor grinder costs $40–$60/day. A two-car garage (400–500 sq ft) takes 2–4 hours. This is the most-skipped step and the second-leading cause of failure.
Path 3: Contamination (Oil, Sealer, Dust)
Even microscopic contaminants block adhesion. Oil from parking cars, sealer residue from previous attempts, or dust from grinding create a barrier film.
Decision rule: After grinding, vacuum thoroughly, then wipe the entire floor with a degreaser or TSP (trisodium phosphate) solution. Let it dry completely (24 hours in low humidity). Right before applying epoxy, vacuum again and wipe with a lint-free cloth. If you see any dust settling, wait another 2 hours. Cost: $10–$20 in cleaning supplies.
The Simple Checklist
Before you open the epoxy can:
- Test for moisture – 48-hour plastic sheeting test
- Grind the surface – visibly rough texture required
- Clean thoroughly – degreaser, vacuum, final wipe
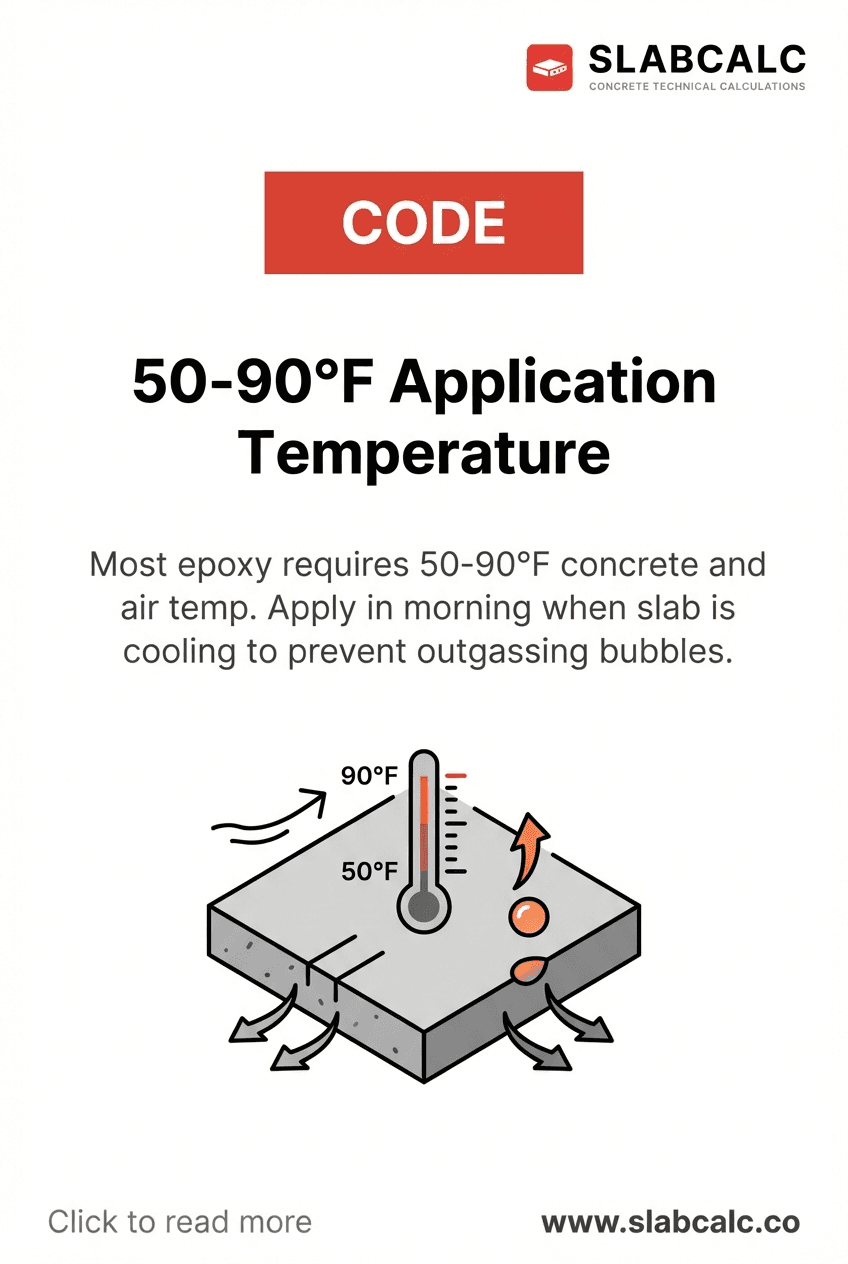
- Check conditions – 50–85°F, humidity below 85%, no rain for 48 hours
If all three prep steps pass, epoxy failure becomes rare. Ninety-nine percent of peeling jobs skipped one of these. Don't be that homeowner. Prep is not glamorous, but it's the only thing that matters.