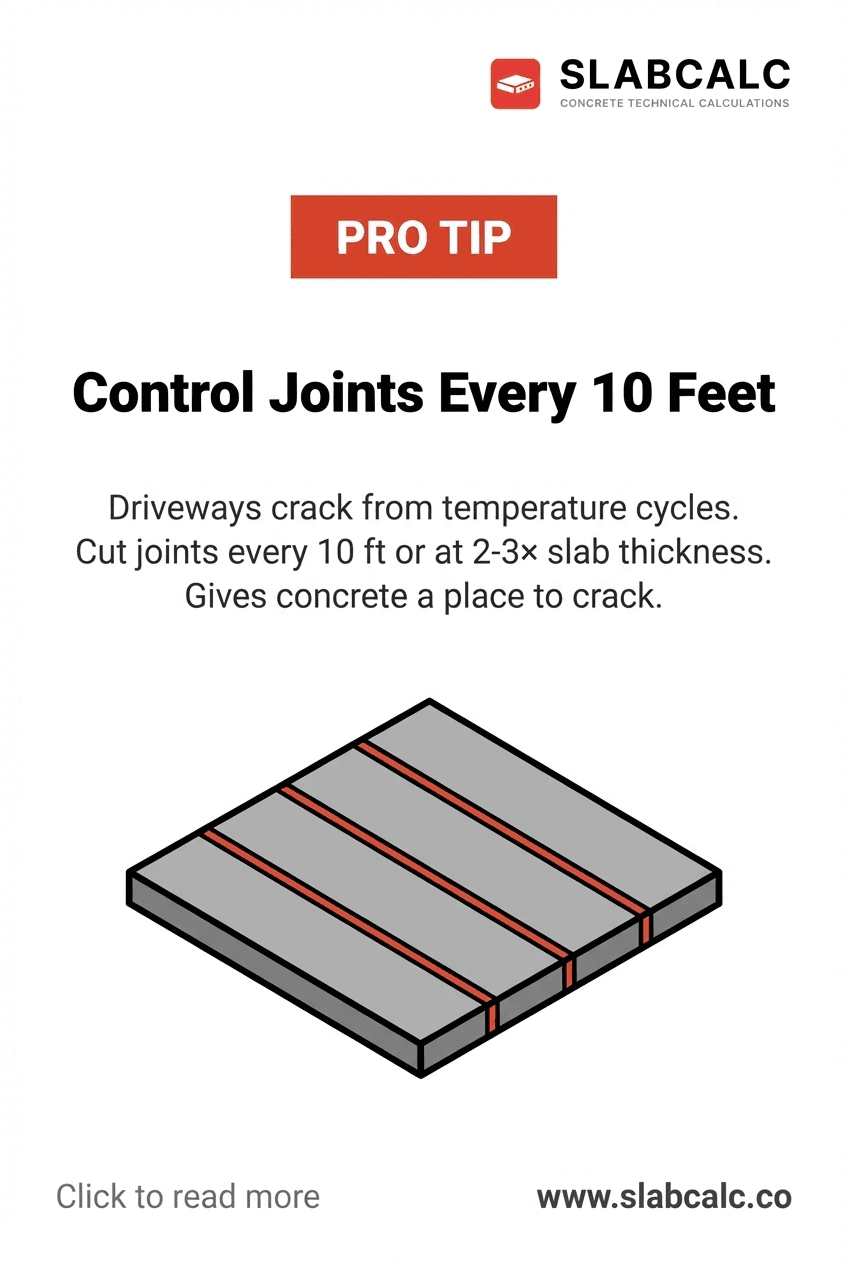
Control Joints Every 10 Feet
The Mistake Most Homeowners Make
You pour your concrete driveway, finish it smooth, and step back admiring your work. Six months later, a crack appears—then another. Within two years, your $3,000 investment is marred by visible damage. This is the most common outcome for DIYers who skip control joints.
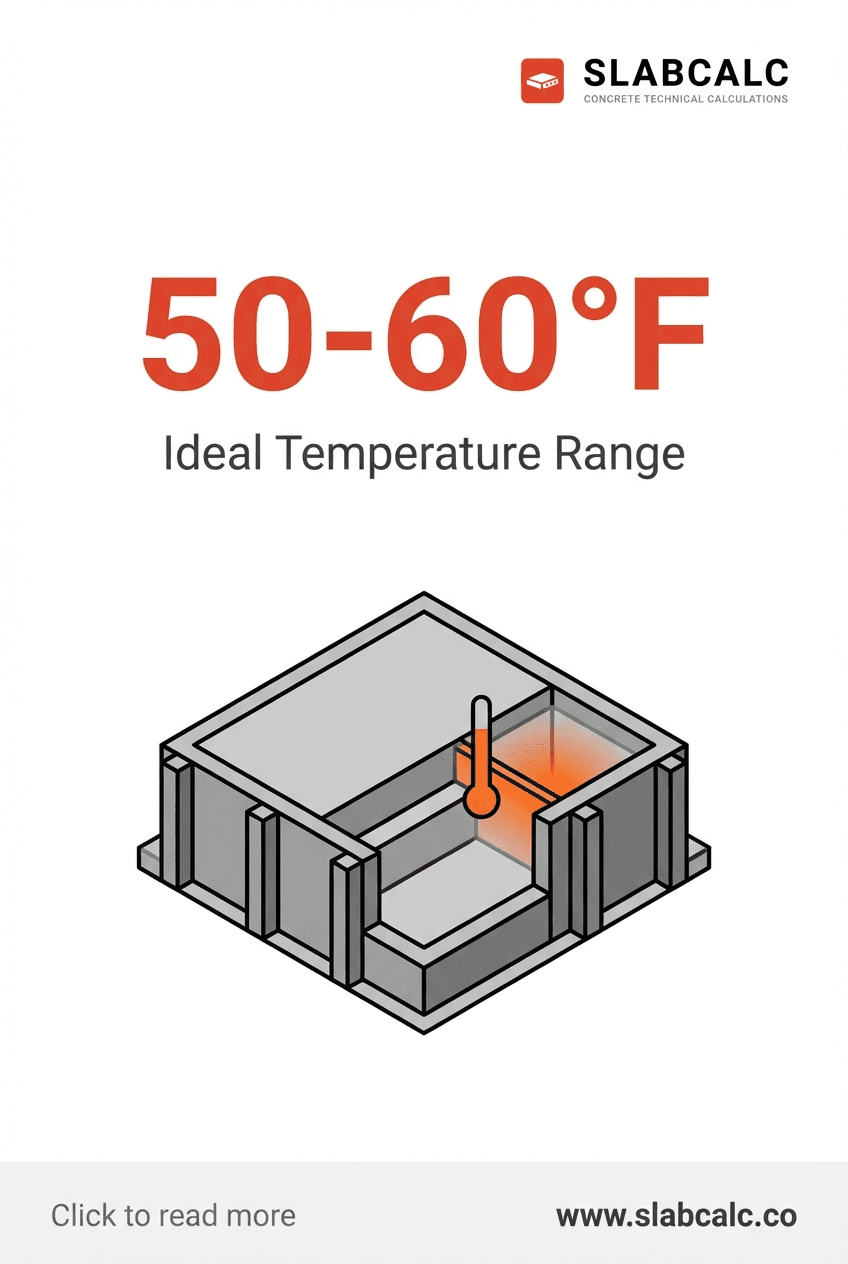
The root cause isn't poor concrete quality or inadequate base prep. It's uncontrolled cracking from thermal movement. Concrete expands and contracts with temperature swings—sometimes 20–30°F annually. Without a strategic release point, these stresses build until the slab fails. You can't prevent cracking; you can only direct it.
The Professional Solution: Strategic Joint Placement
Contractors cut control joints every 10 feet across the driveway width. This isn't arbitrary. The 10-foot spacing (or 2–3 times the slab thickness rule) gives concrete a predetermined weak point where cracks want to form.
How deep should they be? Cut joints to one-quarter of your slab thickness. For a standard 4-inch driveway, that's 1 inch deep. For a 6-inch heavy-duty slab, go 1.5–2 inches.
Why this works: When a control joint cracks, it cracks straight down into that groove. The crack stays hidden beneath the surface. Without the joint, random cracking spreads across the slab surface—visible, structural, and irreversible.
Why Spacing Matters
The math is simple: concrete panel size determines crack behavior. A 10-foot × 10-foot section can handle thermal stress better than a 20-foot × 20-foot section. Each joint effectively creates a smaller "panel" that moves independently.
In freeze-thaw climates, tighter spacing—every 8–10 feet—is recommended. In warmer, stable climates (Arizona, Southern California), 12-foot spacing is acceptable. Never exceed 15 feet without professional engineering.
Cost consideration: Adding control joints adds $0.50–$1.50 per linear foot to labor. For a 20-foot driveway requiring 3–4 joints, expect $15–$60 extra. This is negligible against replacing a cracked driveway (starting at $3,000).
Step-by-Step Application
Timing is critical. Cut joints 6–12 hours after pouring, when the concrete has hardened enough to hold the cut but remains workable. Too early and the concrete tears; too late and the saw bounces and damages edges.
- Mark locations with chalk every 10 feet across the driveway width
- Use a concrete saw with a diamond blade (handheld or walk-behind)
- Cut straight lines perpendicular to traffic flow
- Keep depth consistent at ¼ of slab thickness
- Let concrete cure for 7 days before traffic
For DIYers without equipment access, rent a concrete saw for $50–$75 per day. One person can joint a 400-square-foot driveway in 2–3 hours.
The Long-Term Payoff
A properly jointed driveway remains visually sound for 25–30 years. Cracks, when they do appear, follow the joints invisibly. Sealing joints annually with polyurethane sealant (cost: $0.10 per linear foot) keeps water out and prevents joint widening.
Skip this step and you're gambling with your investment. Control joints cost almost nothing; replacement costs everything.