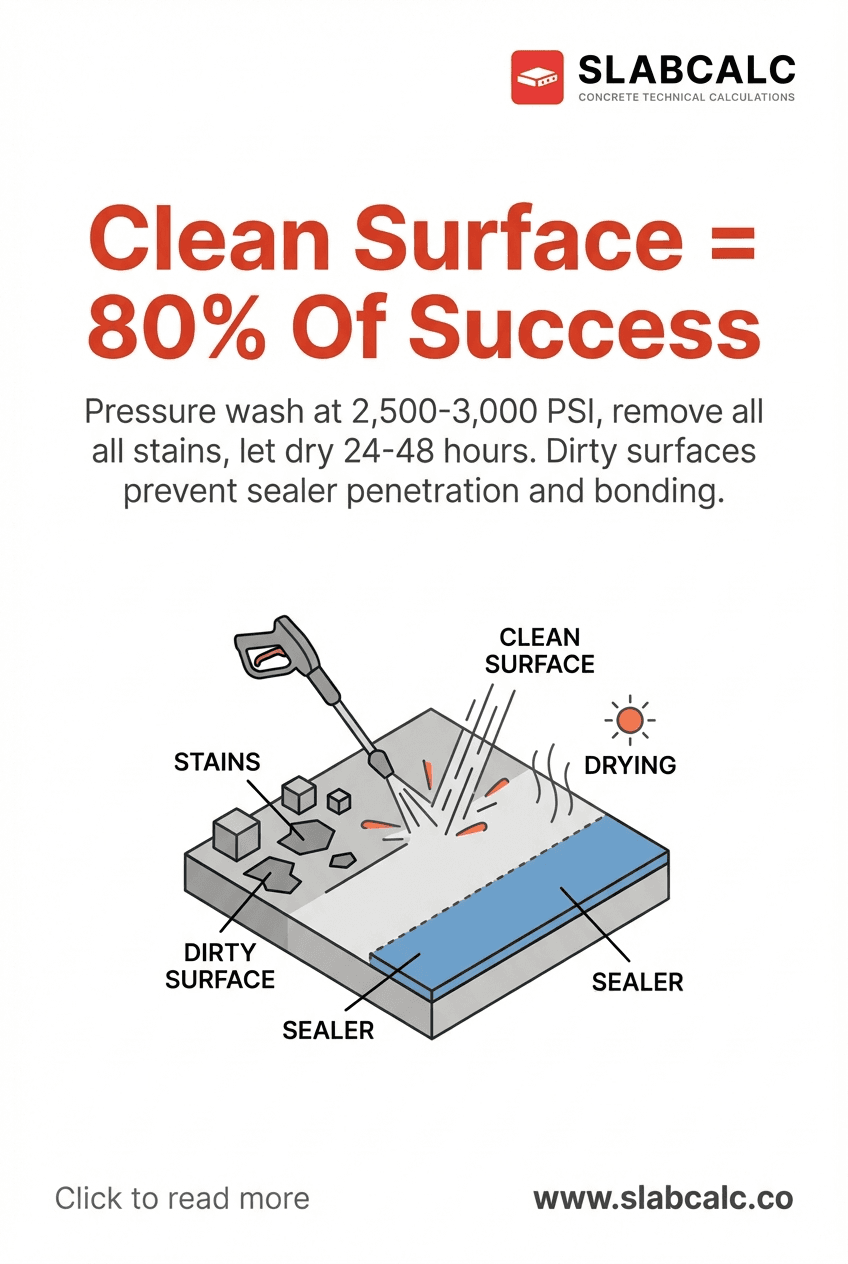
Clean Surface = 80% Of Success
The Worst-Case Scenario: Sealer Failure
You spend $300–$600 on premium sealer, apply it carefully, and within 6 months it starts peeling, flaking, or wearing through in patches. The concrete underneath wasn't protected at all. Why? A dirty surface blocked the sealer from bonding to the concrete. Instead of penetrating or adhering properly, the sealer sat on top of dust, grime, and oils—creating a bond destined to fail.
This is the #1 reason DIY sealing projects disappoint homeowners. The sealer itself isn't the problem. The surface preparation is.
Why Dirt and Grime Kill Sealer Bonds
Concrete is porous, but it's not just about what you can see. Dust, algae, tire marks, rust stains, and oil residue create a microscopic barrier between the concrete and sealer. Penetrating sealers need direct contact with the concrete pores to work. Acrylic and polyurethane sealers need a clean substrate to adhere. Either way, dirt = failure.
The chemistry is simple: sealer molecules bond to concrete, not to a layer of contamination sitting on top.
How to Identify If Your Surface Is Ready
Walk barefoot across your concrete. Do your feet look gray? That dust is a red flag. Run your hand over the surface—does it feel gritty? Pressure wash it again.
Look for visible stains: dark blotches (mold or algae), oily spots (grease or petroleum), white haze (efflorescence), or rust streaks (rebar bleeding). All of these require specific pre-treatment before washing.
Test for moisture: Place a plastic sheet on the concrete for 24 hours. Condensation underneath means the surface isn't dry enough to seal yet.
The Right Pressure Washing Process
Pressure: 2,500–3,000 PSI is the sweet spot. Higher pressure can damage concrete; lower pressure won't remove embedded dirt.
Nozzle angle: Keep the wand 12 inches away, at a 45-degree angle. Never hold it perpendicular—you'll pit the surface.
Stain treatment: Pre-treat oil stains with a concrete degreaser 30 minutes before washing. Mold requires a bleach solution (1:10 bleach-to-water ratio) applied for 15 minutes, then rinsed thoroughly.
Drying time is non-negotiable: 24–48 hours in dry conditions before sealing. If humidity exceeds 85%, wait longer. Moisture trapped under sealer causes bubbling, whitening, and premature peeling.
Your Pre-Sealing Checklist
- Pressure wash at 2,500–3,000 PSI
- Treat oil stains with degreaser
- Remove algae/mold with dilute bleach
- Let surface dry completely (minimum 24 hours)
- Run the plastic sheet test to confirm dryness
- Verify concrete has cured 28+ days (new slabs)
- Remove dust with a leaf blower or broom before sealing
Surface preparation takes 1–2 hours and costs under $50 in equipment. It's the difference between sealer that lasts 3–5 years and sealer that fails in months. Skip this step, and you've wasted your money and time. Do it right, and you've just bought your concrete a decade of protection.